Posts Tagged ‘Photo Credit’
Dabs and Dribbles = A Culinary Goldmine
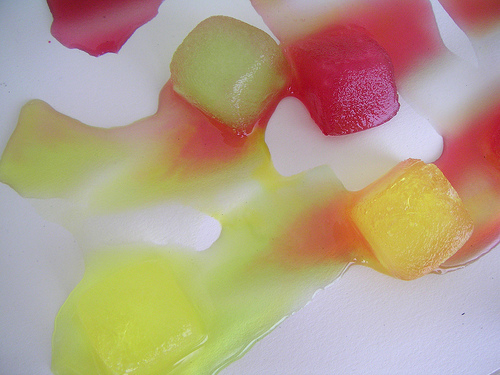
We’ve all had them, those tiny bits of leftovers that are too small for a recipe, but large enough that we don’t want to throw them away. Well now you don’t have to.
With a plastic ice cube tray you can freeze those little gems of flavor to use later on.
• Small amounts of chopped or minced onion can be frozen with water, then thawed and added to any dish.
• Ethnic sauces can be frozen and dropped into chili, salsa or marinades for a hint of exotic flavor.
• Unused bits of yoghurt are perfect when frozen and used while blending smoothies.
• When a recipe calls for only a few tablespoons of lemon or lime juice, squeeze and freeze the rest to use when you need a touch of tart.
• Cubes made from tea or coffees are prefect when cooling down a pot of caffeine. Better yet, drop a few tea cubes into a glass of lemonade to add a layer of flavor.
• Tomato paste in cube form is the perfect amount for a savory sauce.
• Pesto cubes speed up the prep time of pasta, crostini and other Italian delights.
• Pureed butternut squash can be stirred into soups, stews and sauces for added nutrition.
• Tomato juice can be used to add a bit of flavor to soups, sauces and stews.
From fruits to herbs to sauces and marinades these frozen nuggets have a big impact on flavor. So the next time you find yourself with a dab of this and a dribble of that, don’t forego it, freeze it.
Best Ever Berry Jam
Within 5 miles of our house we have three U-pick operations and several Farmer’s Markets where we can find a good selection of seasonal berries. And, although there is nothing better than jumping in the car, combing fields for the freshest produce and ripping it from the soil, the place I like the best is my neighbor’s backyard.
We watch Fran and Joe’s place, feed the chickens and water the gardens when they are on vacation. Our payment…anything that’s ripe.
It was cloudy and a slight westerly breeze blew when Brianne and I walked down the street to check on things. As Brianne went about her chores, I headed for the berry patch. The huge, dark blackberries clung to their canes like gems. I filled my colander. I had a plan. That afternoon I would take these little gems and cook them slowly on the stove, filling the house with their sweet aroma. Mmmm.
Making any kind of Berry Jam is easy. All you really need is berries and sugar. You can use pectin (liquid or powder) if you like, but I prefer not to. I just fill a large pot with 9 cups of berries and 6 cups of sugar, turn the heat on and slowly bring to a boil, stirring occasionally, until all the sugar is dissolved. At this point I either mash the berries with a potato masher or lightly whirl them with an emersion blender, making sure to leave a bit of chunkiness. I continue cooking and stirring the jam rapidly until it reaches the gelling point. When the jam is gelled enough I remove it from the stove and ladle it into hot jars. The jars are dropped into the water bath canner for 15 minutes then set on a clean dry cloth to cool. When you hear the tell-tale POP of the lid, signaling the proper seal, you know you’ve done it right.
The whole process, from first wash of berries to the last lid POPPING takes less than an hour. And, for that you get enough berry goodness to remind you of summer all winter long. I made 9 pints of jam. That’s a lot of jam, folks! And, what a bargain, too. For the price of a few jars and lids, and free berries from friendly neighbors my pantry is stocked with something way better than Smuckers. Not a bad deal!
For detailed instructions, pick up a copy of the famous Ball Blue Book Guide to Preserving, at any hardware, farm store, book or discount store. It covers everything you need to know about canning and costs less than a case of jars. Enjoy!
![]() photo credit: Price Finder
photo credit: Price Finder
Making Maple Butter
Spring temperatures are rising, sap is flowing and that only means one thing…its Maple Syrup Season. It’s during this time of year that the warmth of spring pushes the maple tree sap up into the branches to nourish the leaves, making it the perfect time to capture the sweet juice.
Sap is collected by boring holes in each maple tree and inserting a spout. As the sap moves through the tree the sap drips from the spout into a waiting bucket. The buckets are collected and the rich golden sap is taken to a sugar house where it is boiled down, allowing all the water to evaporate. What’s left is super concentrated natural syrup that’s perfect on pancakes and waffles, muffins and toast, as a glaze for meats and even in baked goods.
No offense to the goodies above, but my favorite way to eat maple syrup is in a creamy, delicate Maple Butter. Slathered on fresh baked cornbread, partnered with peanut butter in a sandwich or spread on piping hot dinner rolls just out of the oven, it is a sinfully delicious way to enjoy the changing of a season all year long.
To make your own Maple Butter try this easy recipe.
Maple Butter
¾ cup softened homemade or pure butter (not margarine or buttery spreads)
1 cup pure maple syrup
• In a heavy pan heat maple syrup until it reaches about 240 degrees and begins to foam; about 10 minutes.
• Stir in butter
• Pour mixture into a glass mixing bowl and beat until thick and creamy, about 10 minutes.
• Store in a canning jar in the fridge.
If you are lucky enough to have a sugar maple, black maple or red maple tree on your property then you’re lucky enough to have the main ingredient for making your own pure maple syrup. To learn more about tapping maple trees and making maple syrup check out this bulletin by the University of Maine
![]() photo credit: PhoTones_TAKUMA
photo credit: PhoTones_TAKUMA
Gardeners Hand Scrub
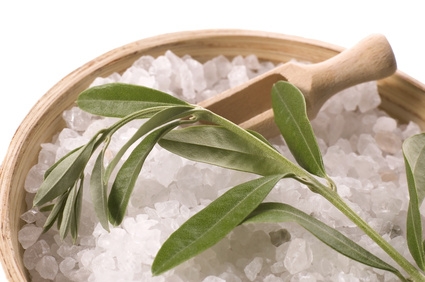
The beginning of the gardening season means not only lots of work, fresh produce and time spent in the outdoors, but also rough hands. Digging in the dirt without gloves, working with machinery, and using various tools can leave hands grimy, dirty, scratched, cracked and rough. This homemade, oil-based salt scrub will clean hands, cut through grease and promote healing. It was formulated by combining recipes and suggestions from several different sources.
Mix the ingredients thoroughly and store in a glass jar with a lid. A wide mouth canning jar works well, because it’s easy to reach into the jar and pull out a dab of scrub.
1 cup Olive Oil
½ cup Epsom salts
½ cup Rock Salt
½ cup Sea Salt
10 drops each Eucalyptus oil and Tea Tree oil
The Eucalyptus and Tea Tree oil add a bit of medicinal quality to the scrub. They provide antibacterial and anti-fungal qualities while soothing and healing rough or injured garden hands. This scrub is also good on feet and knees.
To use, wet your hands and scoop out about 1 teaspoon of the scrub. Gently rub all over hands then keep scrubbing while rinsing under warm water. Work in between fingers (or toes) and around nails get out dirt and grease. A little more may be needed on rough heels. When finished pull thick clean cotton socks or gloves over hands and/or feet. The warmth created will help the oils penetrate the skin leaving it smooth and rejuvenated.
If you take care of your hands, they take care of you, working hard in the garden!
Stretching the Summer by Freezing Herbs
Most herbs are annuals and won’t last the winter in many parts of the country. But, you can extend your fresh herb season by freezing them.
Here’s the trick: pick the freshest, brightest, cleanest, most undamaged leaves, remove the stems, chop finely, and place in a bowl. (Cilantro can be chopped stems and all) Add enough olive oil or vegetable oil to just cover, and then spoon the mixture into an ice-cube tray and freeze; when the cubes are solid, store in a re-useable freezer container. Frozen herbs can be stored for up to 3 months.
Herbs like mint, basil and cilantro can liven up a simmering pot of soup, a savory sauce or even a hearty stew; just drop a frozen cube into the pot. Or, you can first defrost the cube and strain out the herbs. Don’t be wasteful though – the seasoned oil can be used in salad dressings or on steamed veggies.
![]() photo credit: ashleycoombsphotography
photo credit: ashleycoombsphotography
Homemade Popsicles
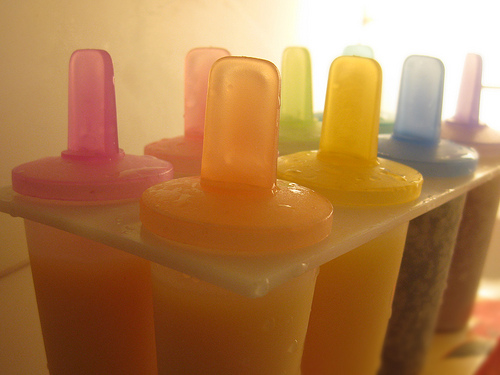
Summertime means one thing – fresh fruit – and lots of it. Once you’ve made jams and jellies, chutneys and compotes why not try a few frozen treats. Ice pops made with real fresh fruit beats anything you’ll find in a store or on an ice-cream truck— and they only take a few minutes to make. Here’s how:
Place 2 cups of chopped fruit or hulled berries into a blender with ½ cup of sugar and puree until smooth. Pour into a fine-mesh sieve, pressing fruit with a spoon or spatula to strain out any skin or seeds, and into a glass measuring cup. If you like your pops with pulp you can skip the straining part.
Pour mixture into Popsicle molds, insert sticks and freeze until firm, at least 4 hours. Store up to one week – if they can last that long.
Cooking Vegetables to Retain Vitamins and Nutrients
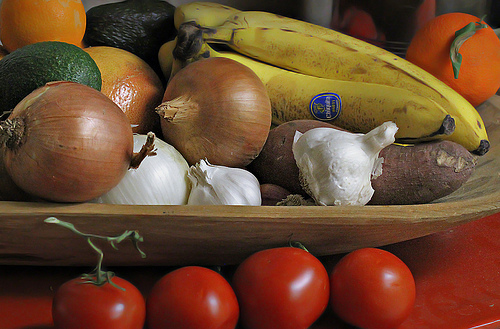
Vegetables are an important part of a healthy diet because they contain many beneficial nutrients, but cooking can pull out many vitamins, like C and B. To get the most out of your veggies limit their exposure to air, heat, water and time – the enemies of fresh produce.
Start buy purchasing the freshest most vibrantly colored veggies you can find. Wait to cut them until right before they are to be cooked. Try to keep pieces large so less surface area is exposed to air and heat during cooking. Cook quickly to limit the time veggies are heated: steaming is the best way followed by microwaving. Boiling is not recommended because it leaches out important vitamins into the water. Regardless of your cooking method the most important thing is to include plenty of colorful veggies in your diet.
![]() photo credit: SearchNetMedia
photo credit: SearchNetMedia
Pitting Stone Fruit Perfectly
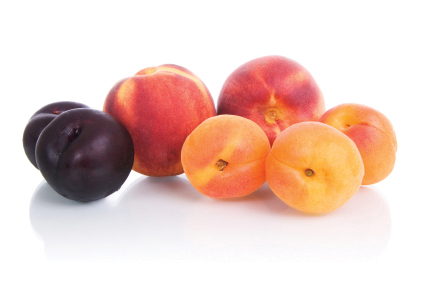
Many kinds of stone fruit have flesh that clings to the pit, making for a disappointing looking fruit when the pit is removed. To pit small stone fruits like plums or peaches, cut the fruit in half lengthwise. Then use a melon baller to scoop out the pit. You’ll have perfect looking fruit for all sorts of summer recipes in no time at all.
![]() photo credit: Wilson’s Fruit
photo credit: Wilson’s Fruit



Recent comments
Aenean nonummy hendrerit mauris. Phasellus porta.