Archive for February, 2011
Garden Plan 2011
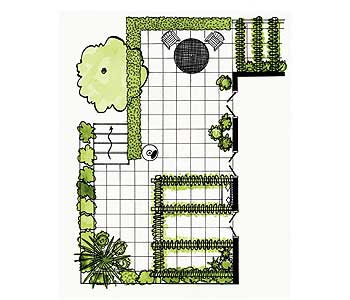
From early spring till fall’s first frost, vegetable gardens can yield not only delicious crops but exercise and life skills as well. But, to get to the point of picking fresh produce you grew yourself you must first start – with a garden plan. Winter is the perfect time to sit and dream and plan out what your garden will look like long after the cold weather disappears.
To begin with, decide what types of vegetables you want to plant and make a list. Then measure all the areas you have available that can be planted. Think about flowerbeds or parkways that could help you expand your available planting area. Not all vegetables need to grow in a set aside garden area. In fact, I normally grow some vine crops like melons, squash and pumpkins in flowerbeds, and every fence is a potential trellis for peas and beans and other vine crops, saving the “garden” for root crops, tomatoes and salad greens.
Once you have measurements for the areas that can be planted, plot them out on graph paper and get ready to “lay out” your garden. Using the growing space requirements for each crop, measure and build your graph paper garden. This will help you see if modifications need to be made because of space challenges.
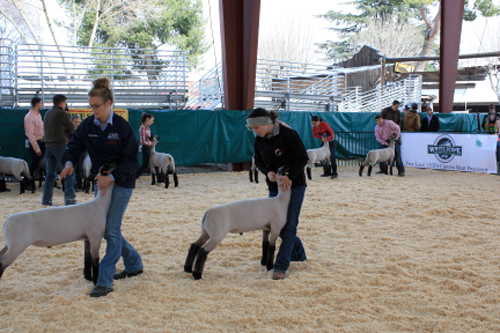
My garden will be smaller this year because Brianne wanted a larger exercise area for her lambs (a sacrifice I was willing to make since this is her last year to show). What won’t change though is the geometry I use to maximize production. The 17’ x 14’ main garden area will have a center pathway of two feet. Each row of vegetables will be 2-feet wide with a one foot wide path between them for easy weeding, hoeing and harvesting. To help control the weeds and retain moisture, each row will be mulched with a layer of chipped wood, given away for free from our local library.
At the far end of each row, a variety of tomatoes will be planted for fresh, slicing, canning and sauce. Larger vegetables like cauliflower, broccoli and cabbage will be interplanted with smaller, faster growing root vegetables and greens that become harvestable long before the larger vegetables grow big enough to shade them out. On the pathway end of each row I’ll plant marigolds and herbs to help ward off insects. Non-traditional garden areas will be amended with composted rabbit, chicken and sheep manure to improve the soil quality and give the transplants a good start. Once planted, these garden areas will also be mulched to keep down the weeds.
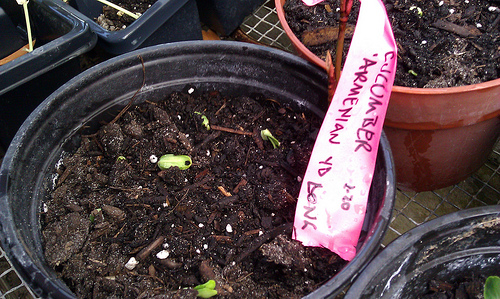
While I spend my evenings “fine tuning” my garden plan, daylight hours are for starting seeds. Vegetables like broccoli, cabbage, cauliflower, cucumbers and tomatoes like to be started indoors weeks before they are ready to “plant out” in the garden. I use a homemade seed soil mix of well-rotted compost, good soil, peat moss and sand. Pony packs, 4-inch pots, clay pots and other containers are collected year-round from family and friends. They have to be sterilized though to help prevent the potential spread of disease. I do this by mixing one teaspoon of bleach to every one gallon of water in a five gallon bucket, then rinsing each container well with clean water.
Spring is still weeks away, but so far this season we’re off to a good start. Our mild weather and decent rain has made life easy for early season cool weather vegetables. And, if things keep up we’ll have a garden bursting with vegetables full of color and flavor by the beginning of summer.
So, folks, how are your garden plans coming???
![]() photo credit: Garden and Beyond
photo credit: Garden and Beyond
Stretching the Summer by Freezing Herbs
Most herbs are annuals and won’t last the winter in many parts of the country. But, you can extend your fresh herb season by freezing them.
Here’s the trick: pick the freshest, brightest, cleanest, most undamaged leaves, remove the stems, chop finely, and place in a bowl. (Cilantro can be chopped stems and all) Add enough olive oil or vegetable oil to just cover, and then spoon the mixture into an ice-cube tray and freeze; when the cubes are solid, store in a re-useable freezer container. Frozen herbs can be stored for up to 3 months.
Herbs like mint, basil and cilantro can liven up a simmering pot of soup, a savory sauce or even a hearty stew; just drop a frozen cube into the pot. Or, you can first defrost the cube and strain out the herbs. Don’t be wasteful though – the seasoned oil can be used in salad dressings or on steamed veggies.
![]() photo credit: ashleycoombsphotography
photo credit: ashleycoombsphotography
Come on in and Grab a Seat
Well folks, I can hardly believe it. Our little blog is approaching its second anniversary.
It’s this time of year that I like to ask all you folks to Come on in and Grab a Seat, meaning we’d like to hear from you. You can share a little about yourself, your homestead or your dreams of starting a homestead, give as much or as little information as you’d like. Or, perhaps you’d like to make a suggestion for the blog – topics, projects, recipes, etc. This is a way for us to see who we are writing to, get to know you a little better and meet the needs of people who stop by to read what’s going on.
It’s also a way for all of you to connect with like-minded folks in your area. How cool would that be? The internet is great, but it keeps us indoors and disconnected a little too much. It’s a tool for networking and learning to be sure, but should not replace person-to-person communication and relationships. By saying hello here you might just find a new friend right in your town that has the same wants and desires and dreams as you. It may spark a new gardening club or potluck or meet up or someone to attend that sustainable farming lecture with.
So come on in, grab a seat and say hello.
Accidental Education
I’ve come to realize that most of my education on the farm has been as much a case of learning by chance then by deliberate study. Or should I say we learn just by living. For certain, the learning we gain through experience or by doing sticks with us long after the classroom fades. I may not remember anything about my statistics class, but I will not forget what happened when I was dumb enough to walk through the corral with a bucket full of grain or store my feed bins too close to the sheep pens.
I’ve learned by chance, for example, that a good way to start pumpkin seeds is to let the pumpkins rot in place. As the bottom of the pumpkin decays away the seeds start to sprout inside the shell, protected by winter cold. In spring all I have to do is transplant the tiny plants into individual containers until they are ready to plant out in the pumpkin patch.
Seeds dropped by birds or blown in on the wind can nestle themselves into friable debris piles near the barn and come to sprout in the warm composting material until ready to plant.
Another accidental discovery took place this past fall after the lambs had been sent off to the butcher. We left the remaining hay in its normal place on the barn floor instead of using it for mulch or composting material. As the weeks and months went by I noticed the remaining hay bales kept settling down and spreading out more than it should be doing naturally. What the heck was going on? Read the rest of the story »
Homemade Popsicles
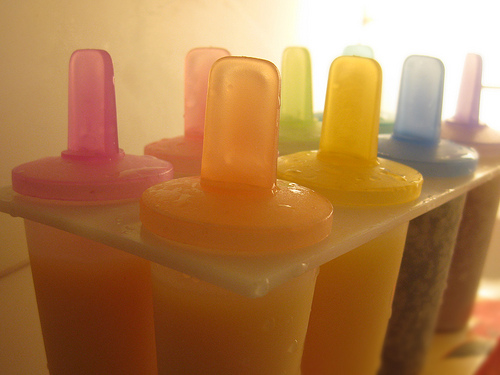
Summertime means one thing – fresh fruit – and lots of it. Once you’ve made jams and jellies, chutneys and compotes why not try a few frozen treats. Ice pops made with real fresh fruit beats anything you’ll find in a store or on an ice-cream truck— and they only take a few minutes to make. Here’s how:
Place 2 cups of chopped fruit or hulled berries into a blender with ½ cup of sugar and puree until smooth. Pour into a fine-mesh sieve, pressing fruit with a spoon or spatula to strain out any skin or seeds, and into a glass measuring cup. If you like your pops with pulp you can skip the straining part.
Pour mixture into Popsicle molds, insert sticks and freeze until firm, at least 4 hours. Store up to one week – if they can last that long.
Cooking Vegetables to Retain Vitamins and Nutrients
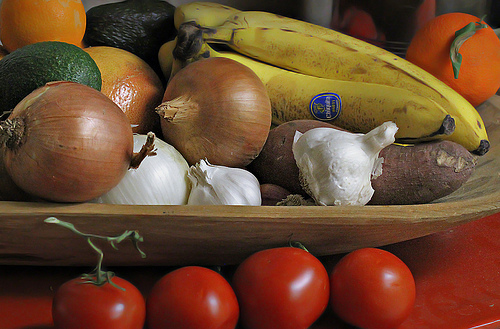
Vegetables are an important part of a healthy diet because they contain many beneficial nutrients, but cooking can pull out many vitamins, like C and B. To get the most out of your veggies limit their exposure to air, heat, water and time – the enemies of fresh produce.
Start buy purchasing the freshest most vibrantly colored veggies you can find. Wait to cut them until right before they are to be cooked. Try to keep pieces large so less surface area is exposed to air and heat during cooking. Cook quickly to limit the time veggies are heated: steaming is the best way followed by microwaving. Boiling is not recommended because it leaches out important vitamins into the water. Regardless of your cooking method the most important thing is to include plenty of colorful veggies in your diet.
![]() photo credit: SearchNetMedia
photo credit: SearchNetMedia


Recent comments
Aenean nonummy hendrerit mauris. Phasellus porta.