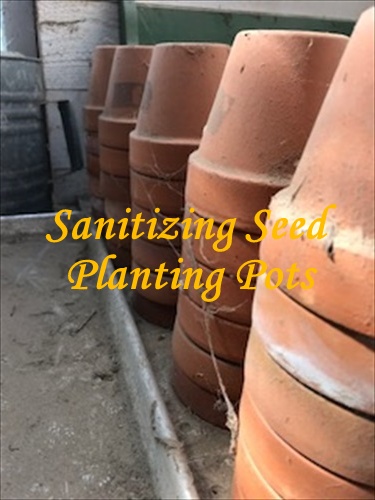
Sanitizing Seed Starting Pots
For decades I’ve been a huge fan of pots; like my love of galvanized watering cans, it borders on a slight obsession.
Old mossy green pots that look like they have been used in a garden shed for a hundred years. The one’s covered in a lovely patina that harken you back to Victorian era gardens, or at least Victorian era garden shows.
With my yearlong funk over and the weather finally turning warm I have been antsy to get some seeds started, to feel the soil between my fingers and inhale the sweet smell of warm, damp earth so fragrant in spring.
I literally haven’t touched a plant in almost a year. Saying I’m eager to get back to gardening is actually a huge understatement. So I dug out my box of seeds to see what I had in the way of flower seeds and found Hollyhocks, Poppies, Bachelor Buttons and Nasturtiums. Then it was off to the greenhouse to gather my pots. That’s when I discovered…I have no seed starting soil. Great!
I also realized that my collection of seed starting pots had also been sitting collecting dust and God knows what else for the past year. This was not good.
When you go through a funk many things fall by the wayside.
I was determined not to be thwarted in my newfound vigor to get my hands in the garden. So, I decided to clean and sanitize the pots and let them dry while I went to town to buy the supplies I needed to make my seed starting soil.
I set up my cleaning station in the sink of my greenhouse, along with a few scrub brushes for scrubbing mystery gunk.
Sanitizing your seed starting pots
There’s really no magic trick to doing this, honestly, but I do have a few words from years of experience—Don’t Use Bleach! It’s hard on your hands and fingernails, stinks like the devil and it makes your hands slimy—yuck. The better alternative is good old fashioned, common as hell, cheap3% hydrogen peroxide. Yep, you got it. Don’t fuss around and over think this, just buy the cheapest stuff you can find. I get mine from Big Lots for less than $1.00 per bottle and have several bottles on hand for wounds (human and animal), household cleaning solutions, detoxing baths and you got it…sanitizing garden pots.
Here’s how I cleaned and sanitized my pots.
One: I filled my tub with water and a bit of anti-bacterial liquid soap.
Two: I brushed off all residual soil and grime, and, in my case, cobwebs and dead bugs.
Three: I then scrubbed the pots in the soapy water to remove any crusted on soil, and to clean and disinfect them.
Four: Lastly, I poured a bottle of hydrogen peroxide into a shallow wash pan and added about a quart of water. Then I bathed each pot in the peroxide solution before setting them on the rack to dry.
Why do I use hydrogen peroxide instead of bleach?
Simple. Bleach can soak into the clay pots and be leached out when the planted pots are watered, killing the seedling. Because the peroxide has beneficial properties, is diluted, but still strong enough to sanitize, it won’t hurt the plants.
You can also use this process on plastic pots, pony packs and seed trays. Just soak them and let them air dry.
If you’re in a hurry you can also spray each pot with regular white vinegar. If you’re really concerned about fungus or bacteria, give your cleaning process the one-two punch by soaking the pots in the peroxide solution before spraying them with vinegar. That combo will kill just about anything.
This process took a bit longer than I had hoped because I was cleaning dozens of pots. By the time I got to town to buy my seed starter ingredients I was in no mood to spend the afternoon mixing soils. It was time for some instant gratification, meaning I purchased premixed seed starter soil.
I know, I know.
But, I can be a lazy homesteader for a day, can’t I?
Recent comments
Aenean nonummy hendrerit mauris. Phasellus porta.